• • PART 1: Importing Reservoir Surface Data & Assigning Elevations (Current)
• PART 2: Surface Creation, Contours & Boundary Extents
• PART 3: Embankment Centerline Alignment & Longitudinal Profiles
• PART 4: Custom Embankment & Core Trench Assemblies
• PART 5: 3D Corridor Modeling & Daylight Target Grading
• PART 6: Earthwork Cut-and-Fill Volumes & Takeoff Tables
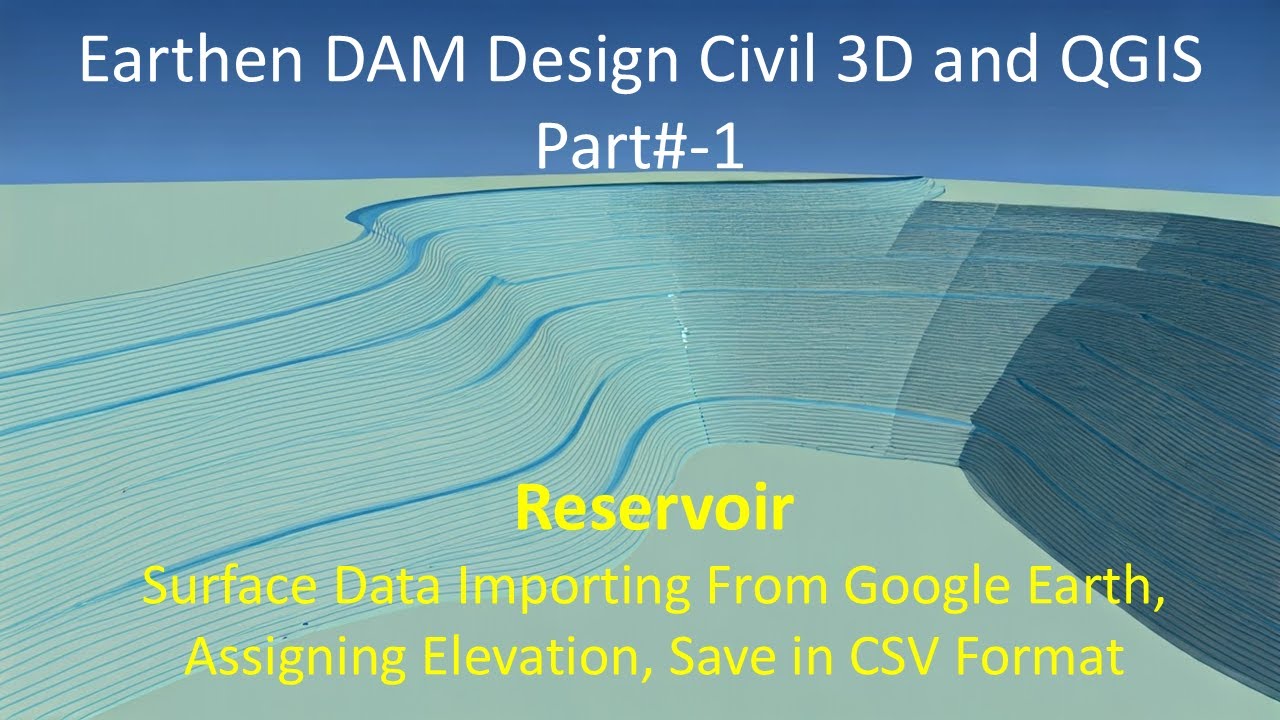
Welcome to the first installment of our comprehensive Earthen Dam Design Masterclass in Autodesk Civil 3D. In water resource engineering and irrigation infrastructure projects, establishing an accurate existing ground surface (OGL) and delineating your reservoir storage basin is the foundational first step. Without reliable topographic data, volume calculations and embankment stability analyses will be flawed.
In this detailed tutorial, we take you from raw satellite imagery on Google Earth through automated DEM elevation assignment using GPS Visualizer, culminating in structured comma-separated value (CSV) point generation ready for seamless ingestion into Autodesk Civil 3D.

1. Google Earth Setup & Coordinate System Configuration
Before capturing any terrain data for your dam site, you must configure Google Earth to use standardized metric units and projected coordinate systems.
- Launch Options: Open Google Earth, navigate to Tools > Options, and verify your display settings.
- Unit Selection: Set your units of measurement to Meters and Kilometers to align with standard civil engineering design practices.
- Coordinate Grid: Ensure your coordinate display is configured to Universal Transverse Mercator (UTM) or latitude/longitude settings depending on your regional project zone.
- Reset View: Go to View > Reset > Reset Tilt and Compass to ensure your viewing angle is perfectly planimetric (top-down) before digitizing paths.
2. Digitizing the Reservoir Basin & Catchment Paths
To capture dense topographic data across the entire storage basin where water will impound behind the earthen embankment, you will use path digitizing tools.
- Initialize Add Path: Click the Add Path tool in the top toolbar. Leave the property dialog box open on your screen.
- Outline Basin Perimeters: Carefully trace the low points, valley floor, and surrounding high ridges where the reservoir pool will form.
- Continuous Point Sampling: Instead of single clicks, click once to start, then hold down the left mouse button and drag continuously across the basin area to generate thousands of closely spaced coordinate points. Dense data capture ensures high interpolation accuracy when building your TIN surface later.
- Save Place File: Name your project (e.g.,
Dam Project) in the path properties window, set altitude properties to Clamped to ground, and save the file. Right-click the folder in your sidebar, select Save Place As, and export it in .KML format to your local project directory.

3. Assigning DEM Elevations via GPS Visualizer
Because Google Earth paths do not inherently embed Z-elevations for every vertex upon export, you must query Digital Elevation Models (DEMs) to assign accurate vertical data.
- Access Converter: Open your web browser and navigate to the GPS Visualizer utility, selecting the plain text converter tool.
- Upload KML File: Browse and select your saved
Dam Project.kmlfile from your local disk. - Configure Elevation Parameters: Under conversion options, select Add DEM elevation. Set the data source to the best available worldwide elevation model (such as USGS 30m or NASA SRTM sources).
- Output Settings: Enable UTM coordinate generation in the output parameters and set elevation intervals if required. Click Convert to process the file and instantly append accurate elevation values to all coordinate points. Download the resulting text file.
4. Formatting Point Data in Microsoft Excel
To prepare your text file for Civil 3D import, clean and structure the data columns using Microsoft Excel.
- Import Text File: Open a blank Excel workbook, go to File > Open, change the file type filter to All Files (*.*), and select your downloaded text file.
- Text-to-Columns Wizard: Use the Fixed Width or Delimited (Tab-separated) wizard to cleanly separate latitude, longitude, UTM coordinates, and altitude values into distinct columns.
- Data Cleanup: Retain only the critical columns required for surface creation: **Northing**, **Easting**, and **Altitude (Elevation)**. Remove redundant text headers and extraneous metadata columns.
- Add Point Numbers: Insert an indexing column at the far left and populate point numbers (1, 2, 3...) down to your final row (containing over 6,500 survey points) to guarantee structural alignment.

5. Exporting as Comma-Delimited CSV
The final pre-processing step formats your spreadsheet into a universally readable format for CAD software.
- Save As CSV: Go to File > Save As, select your project folder, and choose **CSV (Comma Delimited) (*.csv)** from the save-as type dropdown.
- Verify Output: Confirm that your file is successfully saved. This CSV file contains thousands of precise topographical data points that will form the backbone of our dam reservoir model.
Watch the complete step-by-step visual demonstration on YouTube: Civil 3D Earthen Dam Design: Part-1 | Importing Reservoir Surface Data & Assigning Elevations.


0 Comments
Please read like, share and comment